

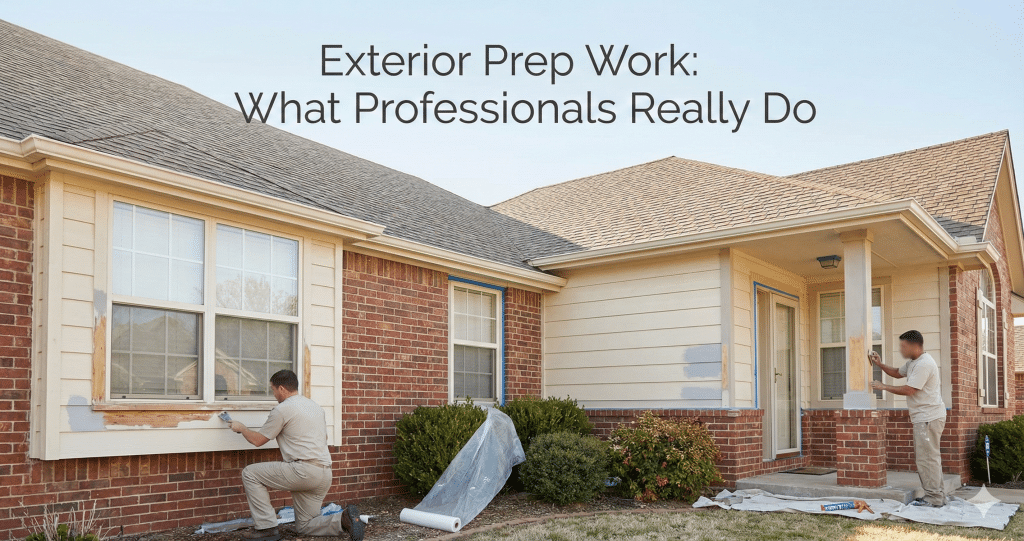
One thing we hear often is how surprised homeowners are by how much work happens before any paint touches the house. Prep work is the foundation of a long-lasting exterior paint job, and it’s the step that separates a quick paint job from one that truly protects your home.
If you’ve ever dealt with paint peeling after just a few years, there’s a good chance the surface wasn’t prepped well. In fact, many peeling and flaking issues come from poor prep; not necessarily from the paint itself.
Below is a clear, homeowner-friendly look at what professional exterior preparation actually includes and why it matters so much for Oklahoma homes.
Why Prep Work Matters in Oklahoma’s Climate
Oklahoma weather is hard on paint—sun, wind, dust, humidity, and storms all take a toll. Good prep creates a clean, stable, sealed surface that allows paint to bond properly and last longer. A rushed or skipped prep process almost always leads to premature failure, especially in areas with strong UV exposure or wind-driven rain.
Professional prep work is about giving the coating the best possible starting point.

1. Soft Washing or Pressure Washing (Depending on the Surface)
Before anything else, the entire exterior needs to be washed to remove:
- Dirt and dust
- Mildew and algae
- Loose debris
- Pollutants and airborne grime
In Oklahoma, dust storms and wind make this especially important. Paint cannot bond to a dirty or chalky surface. Washing also helps uncover hidden problems—soft spots in wood, peeling areas, or damaged caulk that wasn’t noticeable before.
Professionals choose pressure or soft washing depending on the siding type. For example, delicate surfaces often gets a gentler wash to avoid damage, while woodwork, brick or composite siding can handle more pressure.
2. Scraping Loose or Peeling Paint
After the home dries, painters scrape any areas where the old paint is loose, bubbling, or flaking. This is the step that homeowners often underestimate.
Scraping ensures:
- No loose layers prevent new paint from bonding
- Edges between old and new layers are smooth
- Problem areas are exposed early so repairs can be made
It’s tedious, but it’s essential. Skipping this step, common with cheap “spray-and-go” jobs, is one of the biggest reasons Oklahoma homes experience early peeling.
3. Sanding for Smooth, Even Surfaces
Once scraping is done, sanding helps feather the edges and smooth out rough patches. The goal isn’t to sand the whole house down to bare wood; it’s to create a surface where primer and paint can grab evenly.
Sanding helps:
- Reduce visible transition lines
- Improve coating adhesion
- Create a more attractive finish
On trim, professionals often use multiple grits. On siding, sanding may be lighter but still important for durability.
4. Caulking Gaps, Seams, and Joints
Caulk is the home’s first line of defense against moisture. Oklahoma’s temperature swings can cause caulk to dry out and crack over time.
A professional painter inspects and recaulk:
- Window and door trim
- Vertical and horizontal siding seams
- Gaps around fascia and soffits
- Nail holes and minor cracks
- Areas where old caulk is missing or failing
High-quality, paintable exterior caulk expands and contracts with the weather. When applied correctly, it protects your home from water intrusion and helps create a cleaner-looking finish once painted.
5. Priming Bare Wood and Problem Areas
Primer is just as important as paint—sometimes more. Its job is to seal, stabilize, and prepare surfaces so the topcoat can bond tightly.
Professionals prime:
- Bare wood
- Sanded edges
- High-absorption areas
- Stained or discolored spots
- Sections prone to moisture or UV exposure
Using a premium primer is especially helpful in Oklahoma because of our intense sun and heat. The better the primer bond, the longer the paint job will last.
If you’re curious about the specific coatings we use, we go over the products we pair with our prep process in a separate article.
6. Repairing or Replacing Damaged Trim and Wood
Surface preparation often reveals underlying issues, especially in older homes. Professionals look for:
- Soft, spongy, or rotted wood
- Cracked or swollen trim boards
- Loose siding
- Damaged fascia
- Holes from insects or past repairs
Good painters will either repair the damage or recommend replacement before painting. Painting over damaged wood doesn’t solve anything—it just hides the problem temporarily.
Trim replacements also ensure that the finished project looks clean and updated.
7. Masking and Protecting Areas Not Being Painted
Professional prep includes careful masking to keep your home and landscaping clean. This may include:
- Taping around windows
- Covering doors
- Masking brick or stone areas
- Protecting concrete, walkways, and patios
- Covering shrubs or plants
- Moving outdoor furniture
Good masking helps keep lines crisp and prevents overspray or drips. It’s not just about the finished look—it’s part of respecting your home and property.
8. Setting the Stage for a Smooth Painting Process
Once all preparation steps are complete, the house is truly ready for paint. At this point, the surface is:
- Clean
- Dry
- Smooth
- Sealed
- Primed
- Protected
This is what gives you a durable, professional finish that stands up to Oklahoma wind, sun, and storms for years.
Professionals also walk the home one more time to double-check:
- Any remaining peeling spots
- Any uncaulked seams
- Any repairs needed before coating
- Any priming that still needs attention
Good prep work takes time, but it saves you money long term by preventing premature failure and reducing maintenance needs.
Why Good Prep Makes Such a Big Difference
A professional coat of paint is only as good as the surface underneath it. Skipping steps might save a few hours up front, but it almost always shortens the lifespan of the paint job—sometimes by several years.
When you invest in proper prep work, you’re protecting:
- Your siding
- Your trim
- Your home’s value
- The longevity of your paint job
It’s a straightforward, down-to-earth approach: do it right once, and it lasts.
Ready for a Professional, Long-Lasting Exterior Paint Job?
If you’d like a clear, detailed estimate that explains exactly what your home needs, we’re here to help. Our team walks you through every step so you know what to expect: no surprises, no shortcuts.